Introduction
Azure AD B2C is Microsoft’s identity as a service offering for business to consumer applications. Azure AD B2C is separate from Azure AD but they share many of the same primitives making them somewhat compatable.
Forewarning
Azure AD B2C is certainly not my favourite customer identity and access management (CIAM) offering.
The main issues I have with it are as follows: cumbersome configuration and customisation, missing features, missing ARM template and sub par documentation.
However, for teams that have requirements to build products using only Azure services, Azure AD B2C is serviceable and can be configured to achieve an acceptable level of customisation and functionality with a little bit of elbow grease.
My frustrations with using Azure AD B2C have inspired this blog series in hopes that it will help at least one person who finds themselves deep down the rabbit hole, looking for a way out.
Goal
My goal for this series is to build functional ASP.NET MVC web application complete with CIAM and role based access control (RBAC) capabilities. The web application will be deployed via GitHub Actions to Azure.
This solution will cover CRUD operations on B2C users as well as token expiry, forced self service password reset and administrator triggered password reset. These operations will be achieved by utilizing the Microsoft Graph API which is explored in more detail in this post.
Prerequisites
- A GitHub account (tutorial)
- An Azure account (tutorial)
Setting up your Development Environment
The development environment used for this series is a fresh install of Visual Studio CE 2022 with the ASP.NET and Azure workloads as well as the .NET Core 3.1 Runtime (LTS) component all running on Windows 10.

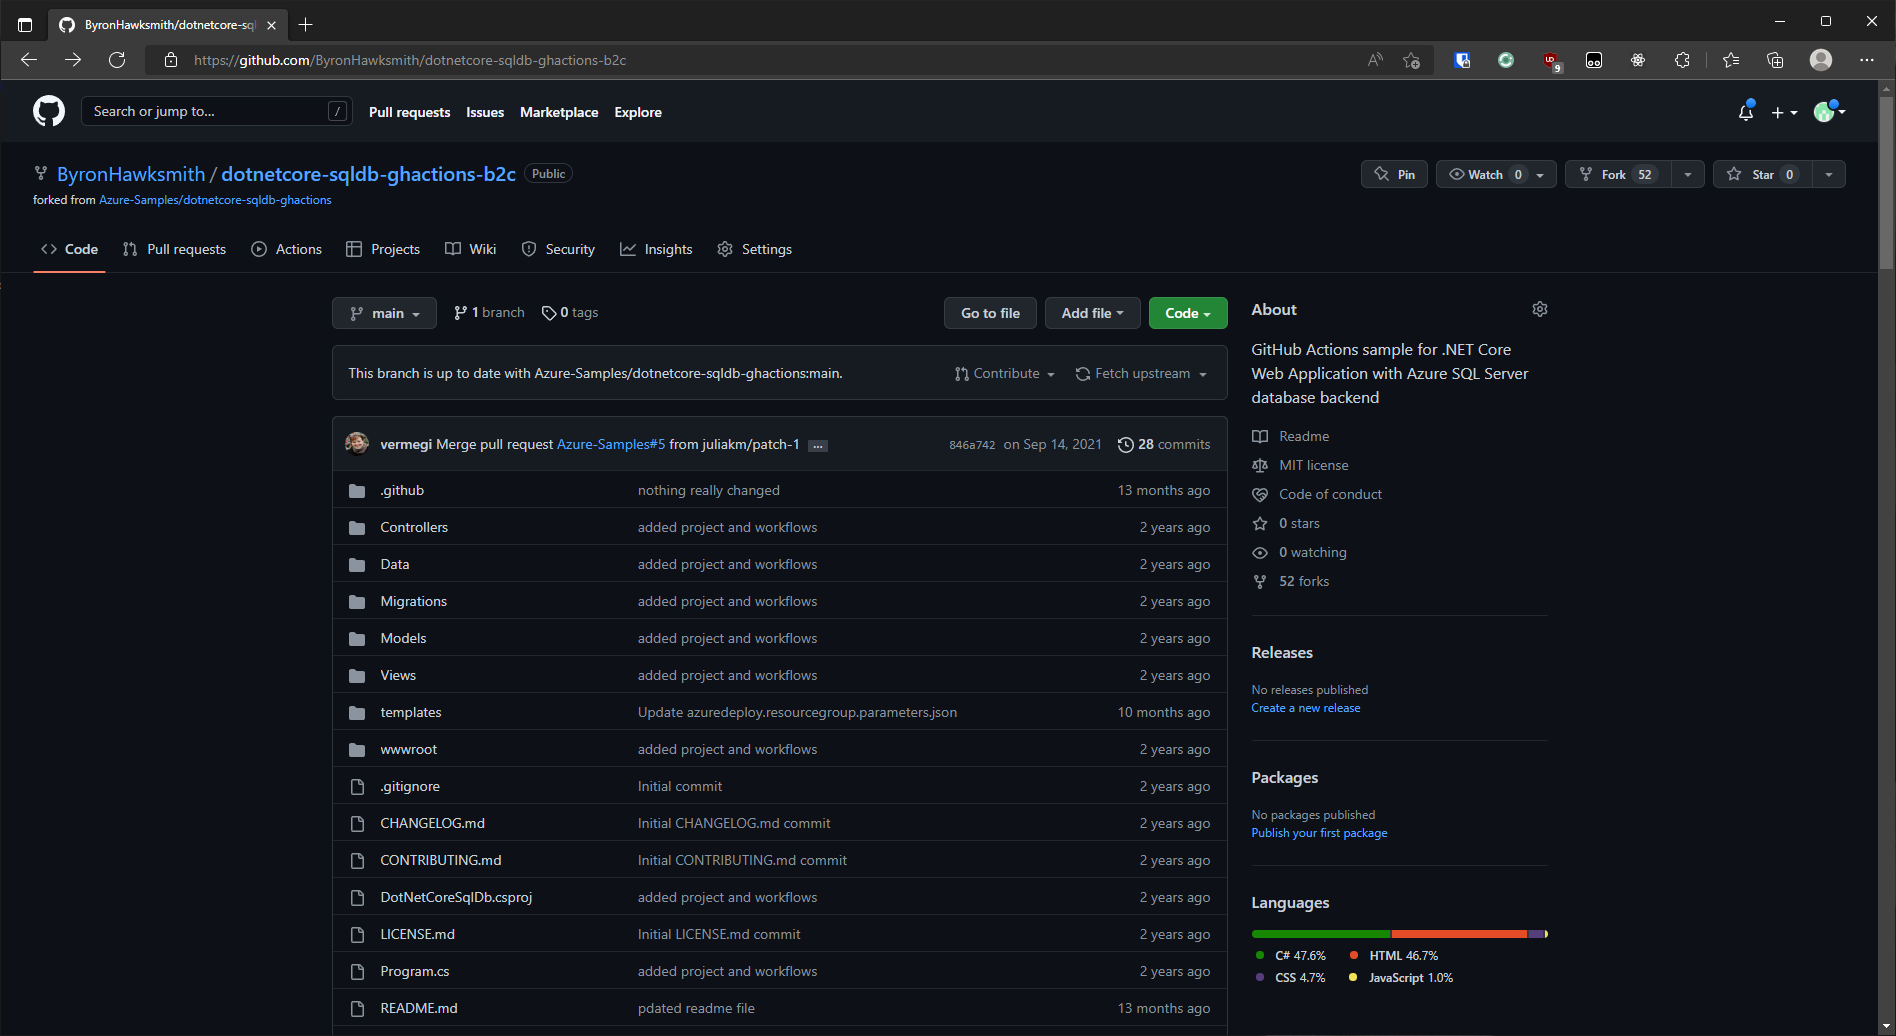
Forking the Web Application
Microsoft has an example ASP.NET web application which we will leverage as a starting point for this series. You should fork this repo so we can run the actions and expand it’s capabilities.
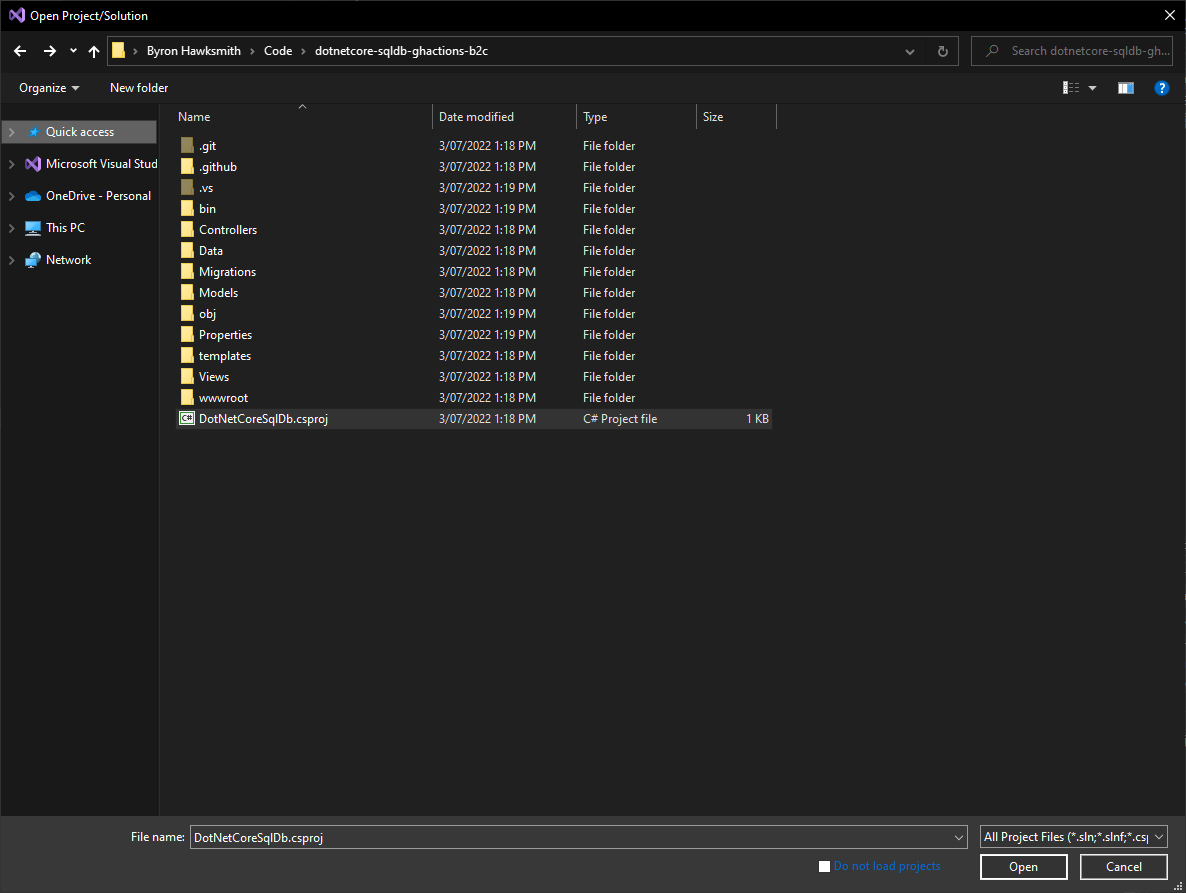
Cloning the Repo
Clone the repo into a directory of your choosing and then open the directory with Visual Studio.
cd C:\Users\byron\Code
git clone https://github.com/ByronHawksmith/dotnetcore-sqldb-ghactions-b2c.git
Configuring the Visual Studio
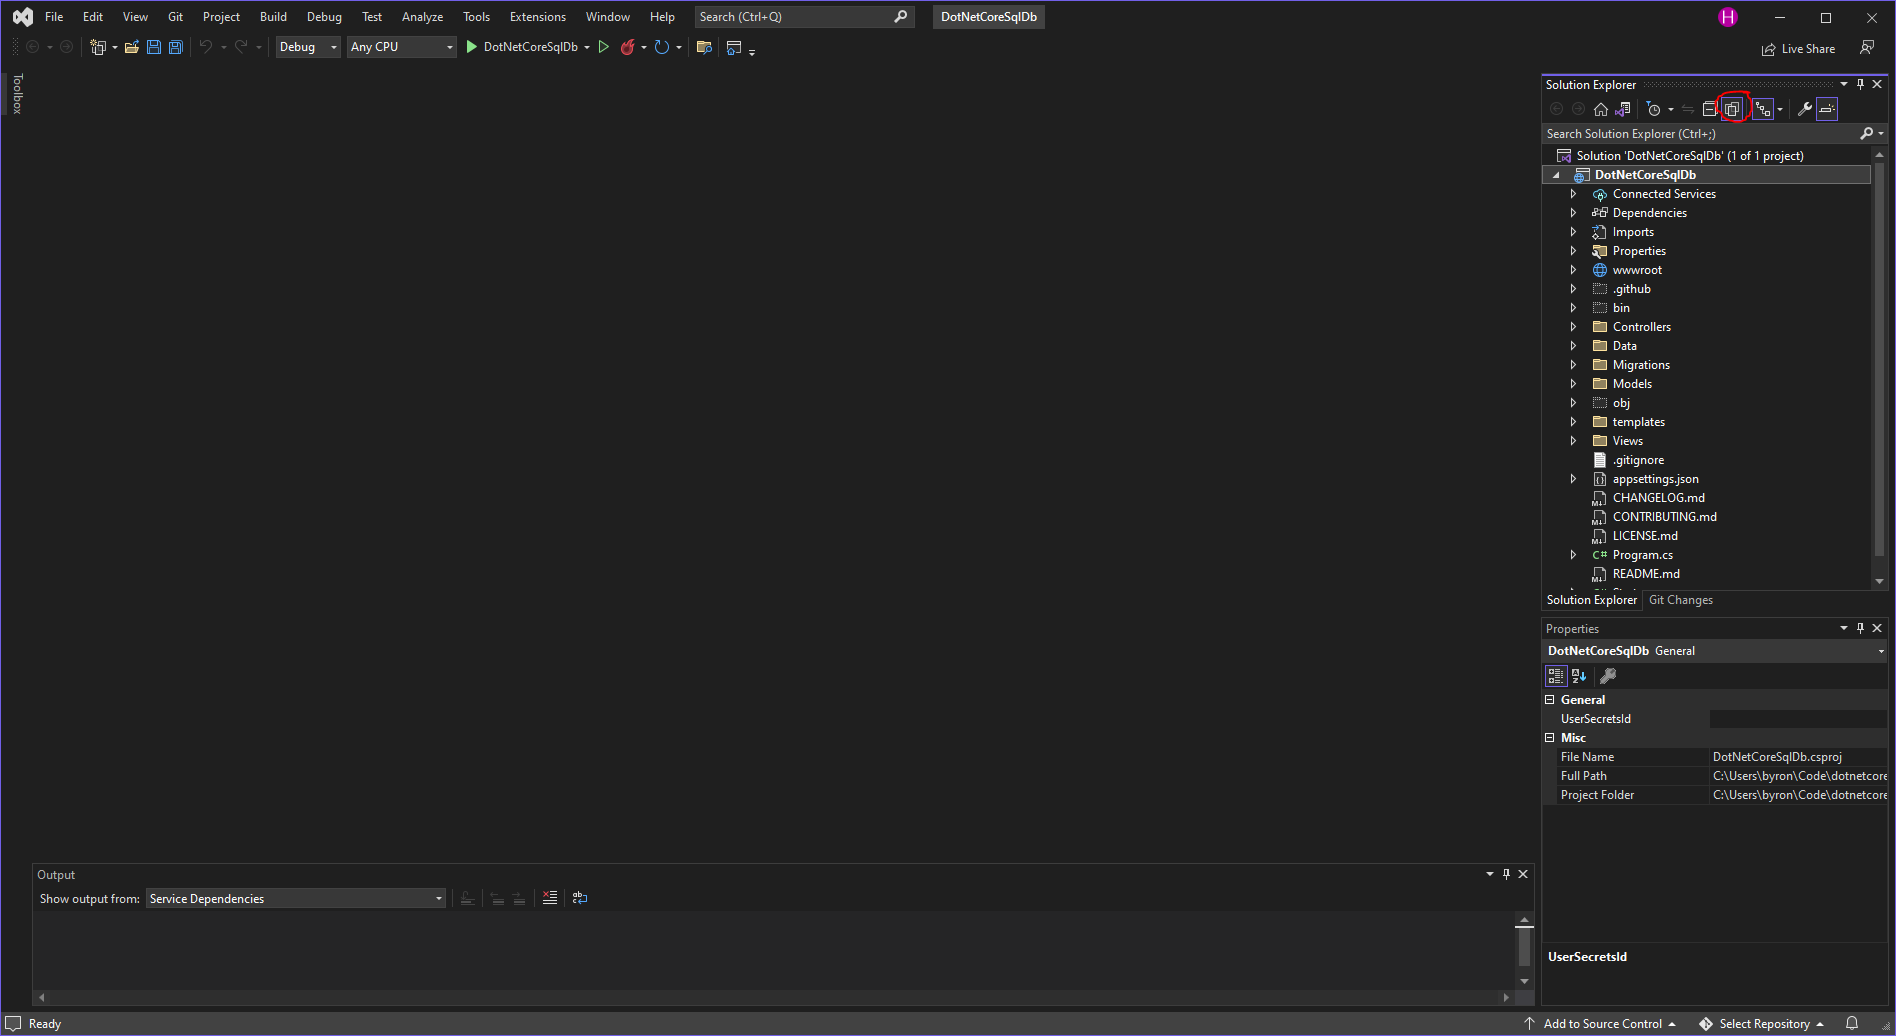
Open the .csproj in Visual Studio.
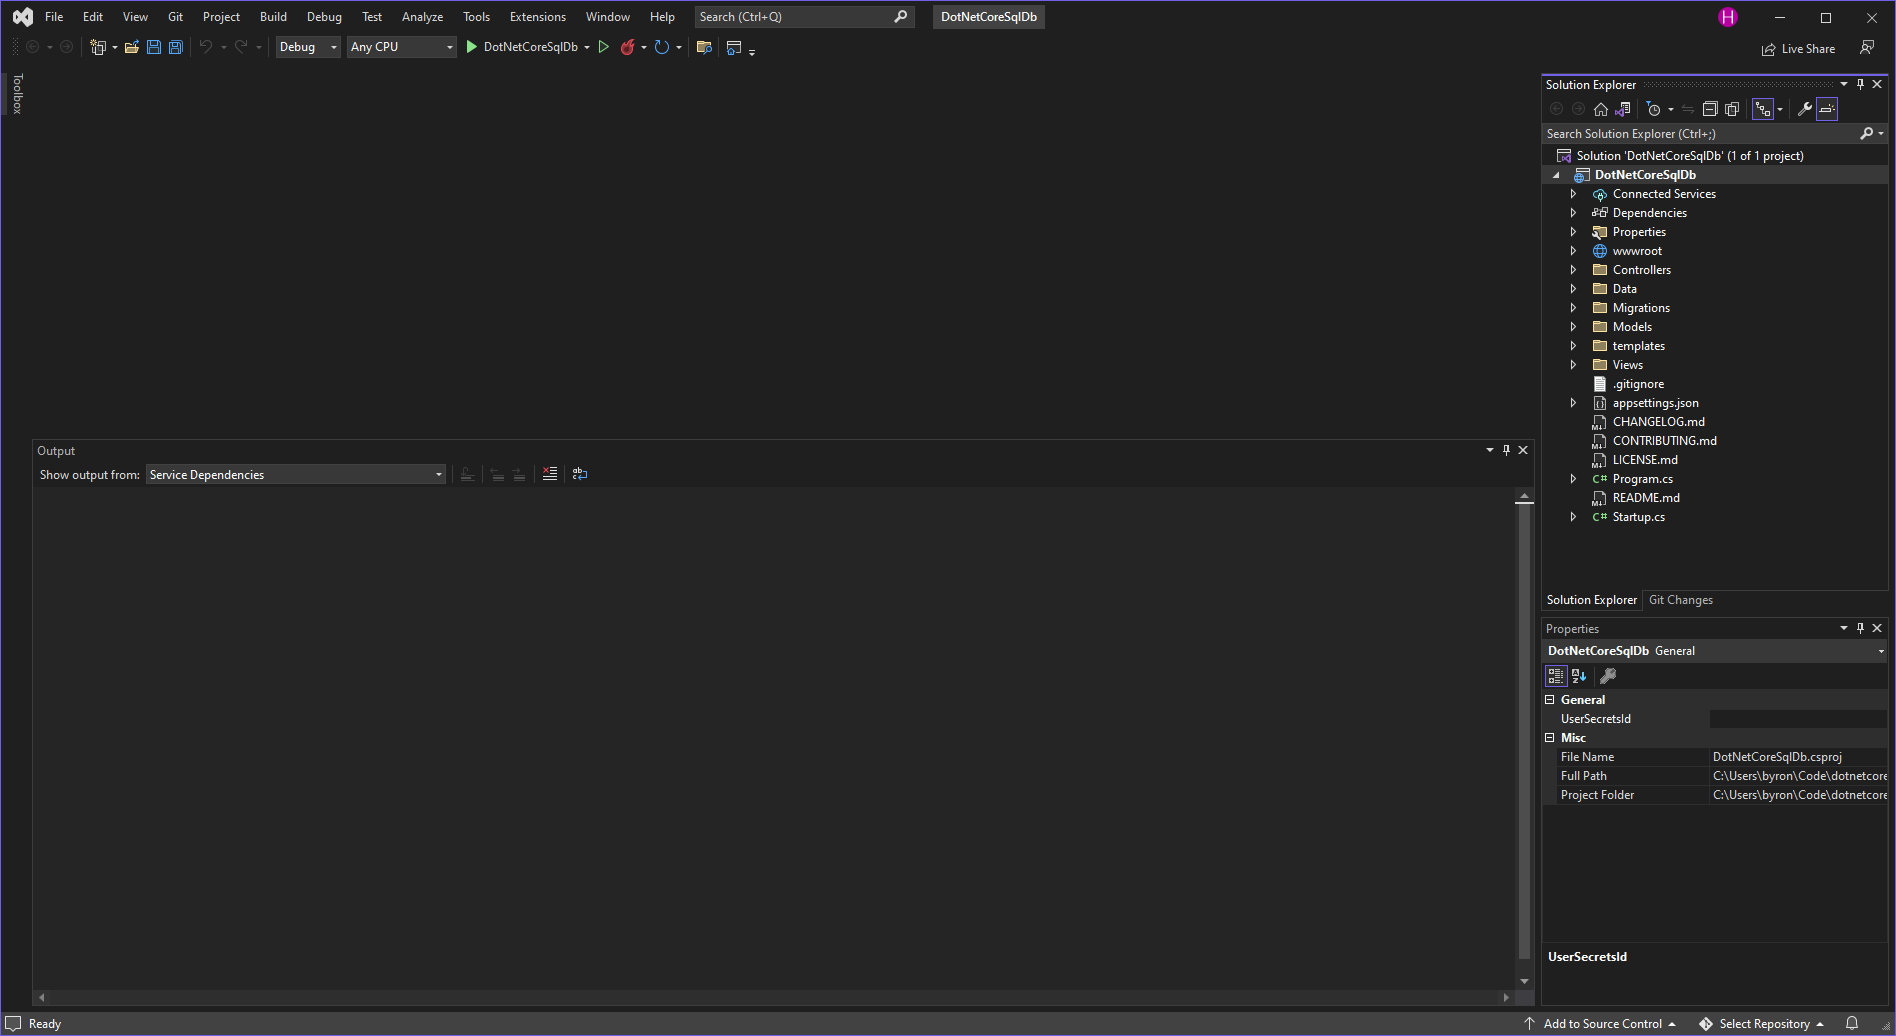
Make sure you enable “Show All Files” in the solution explorer.
Configuring the Infrastructure Workflow
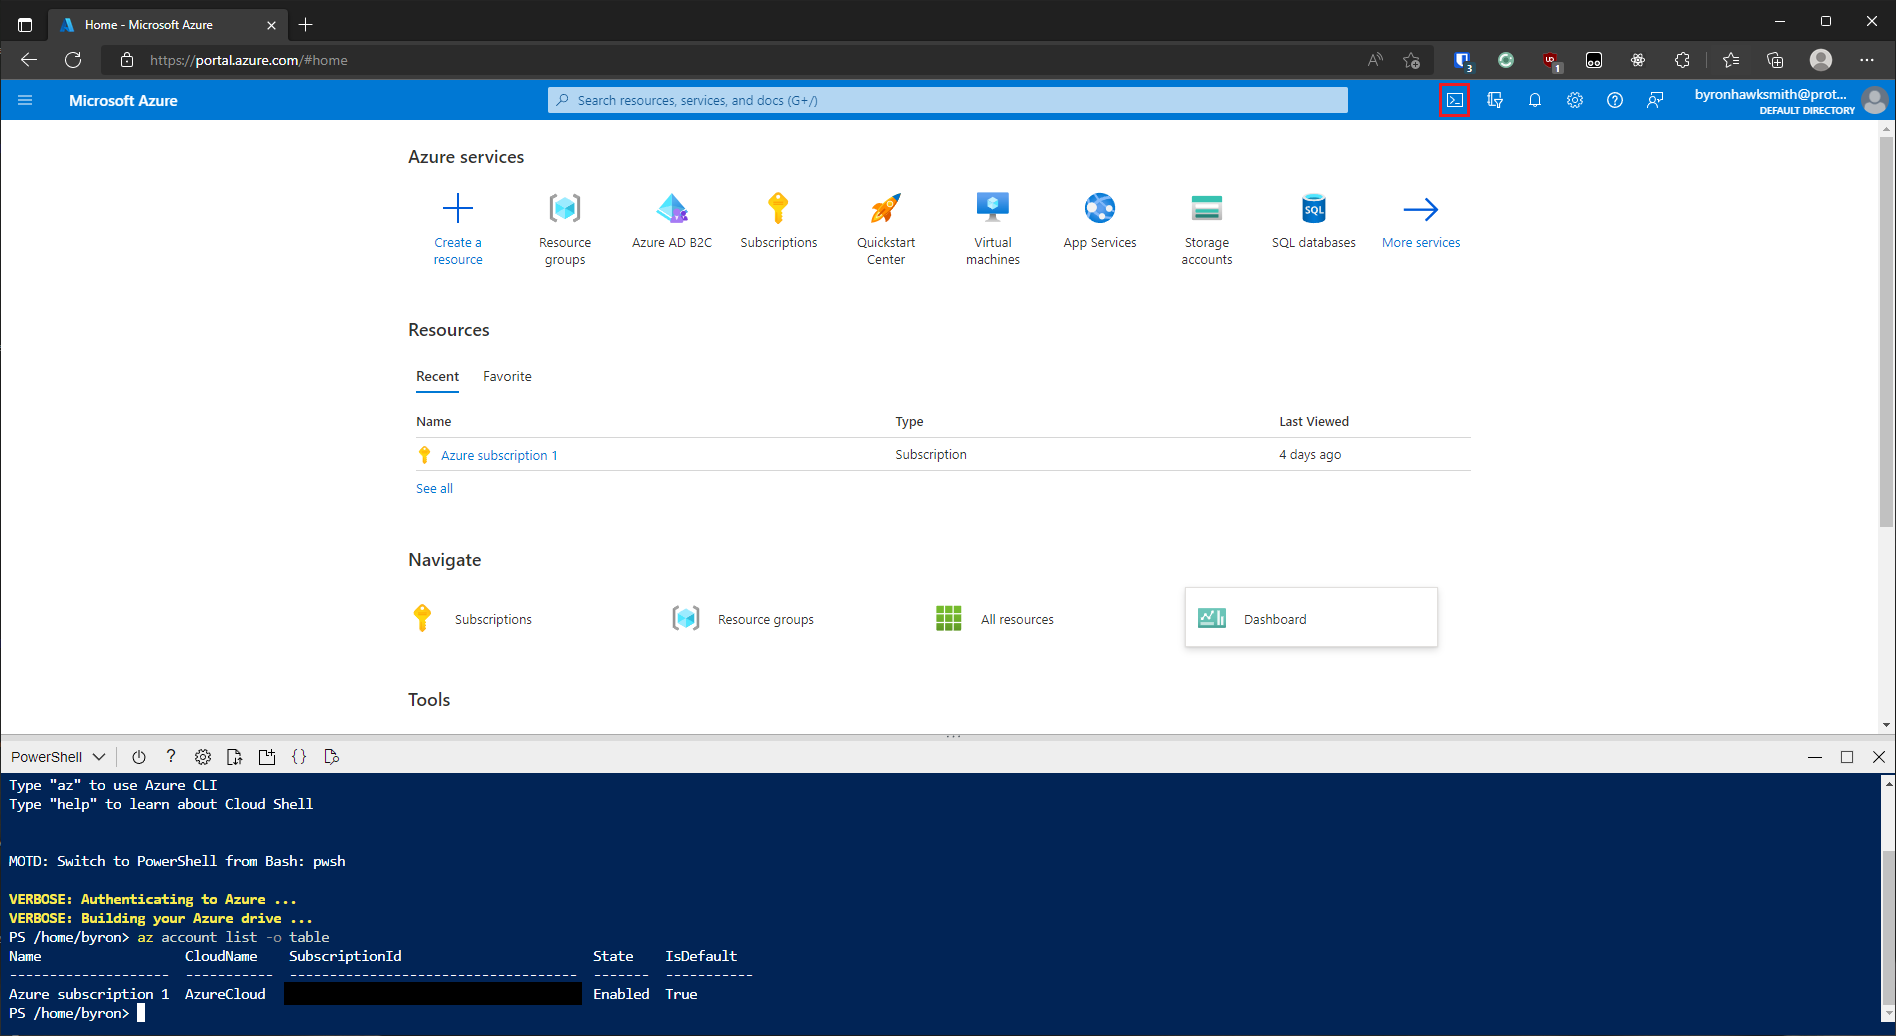
Navigate to the Azure Portal
Open a cloud shell and run az account list -o table
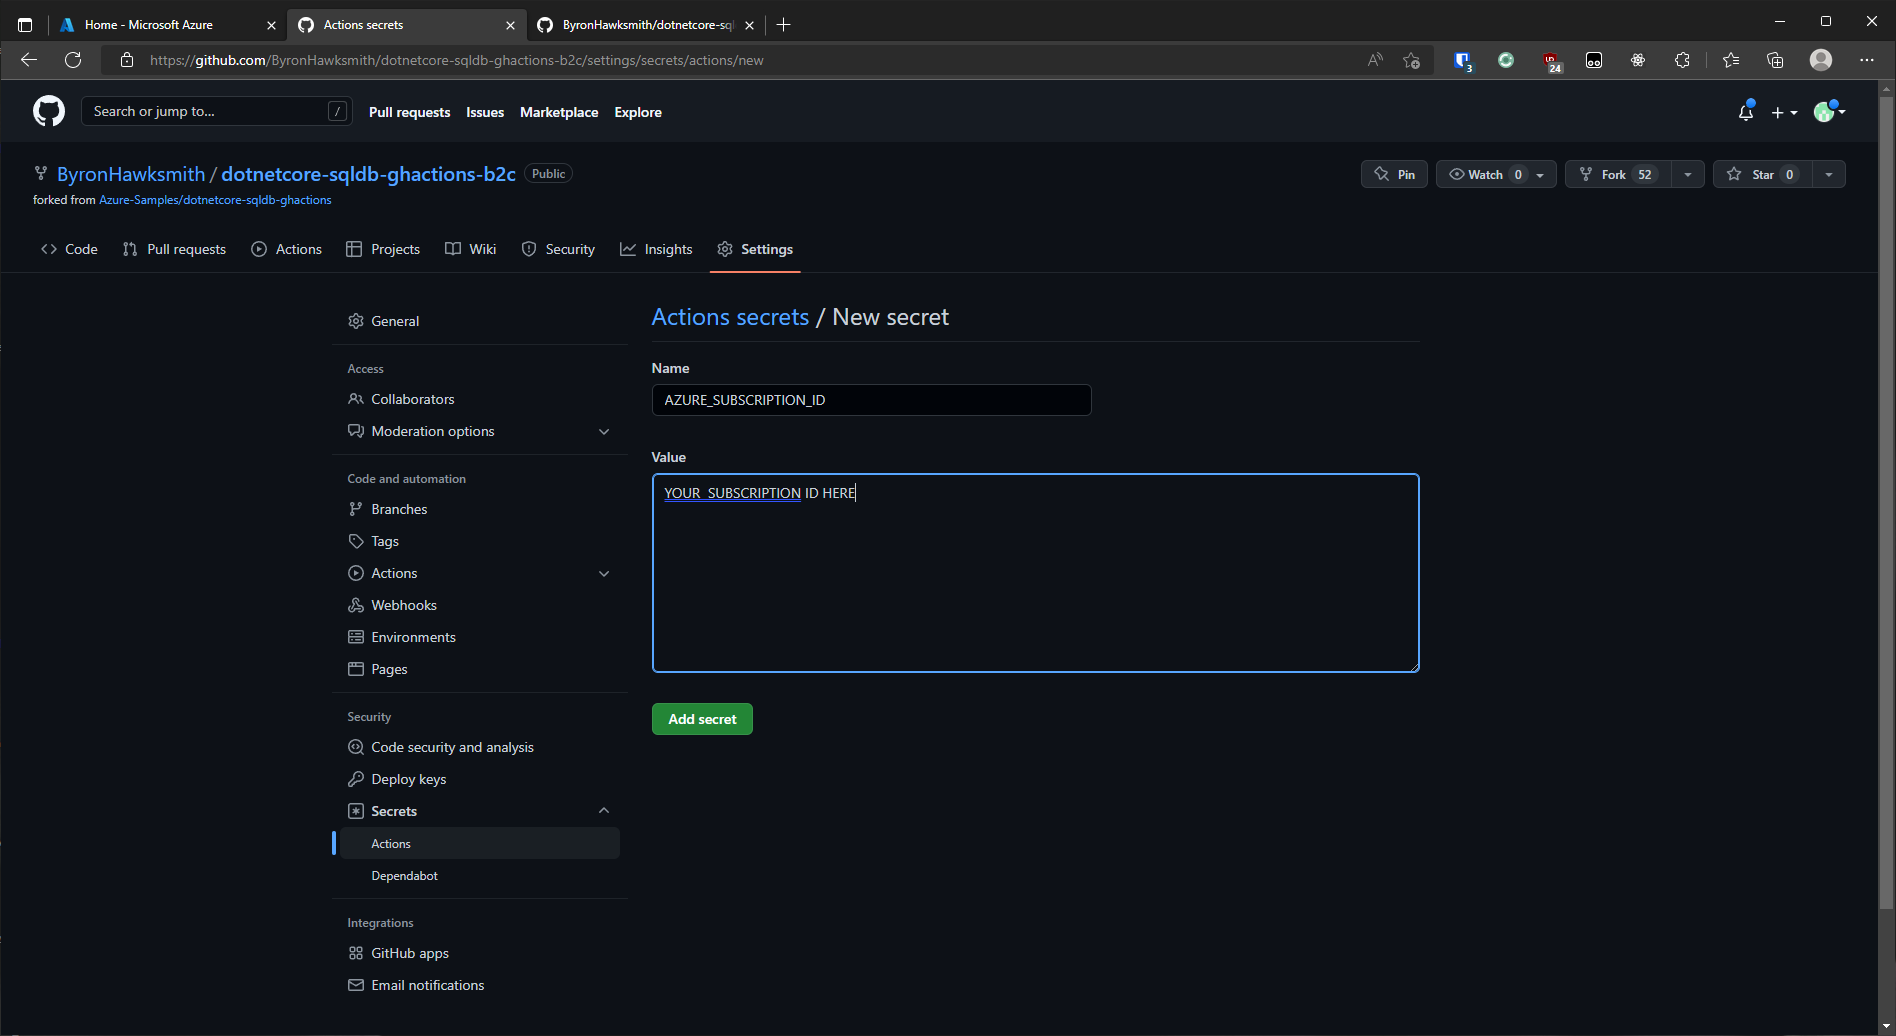
Navigate to the Secrets section of your forked repo and add a new AZURE_SUBSCRIPTION_ID secret with the value being your Subscription ID.
Run az ad sp create-for-rbac --name "demo-webappsql-gh-actions-sp" --sdk-auth --role contributor --scopes /subscriptions/<subscription-id> in your Azure cloud shell, copy the output which will have the following structure:
{
  "clientId": "",
  "clientSecret": "",
  "subscriptionId": "",
  "tenantId": "",
  "activeDirectoryEndpointUrl": "",
  "resourceManagerEndpointUrl": "",
  "activeDirectoryGraphResourceId": "",
  "sqlManagementEndpointUrl": "",
  "galleryEndpointUrl": "",
  "managementEndpointUrl": ""
}
Create an additional secret in GitHub called AZURE_CREDENTIALS and give it the value of the above output.
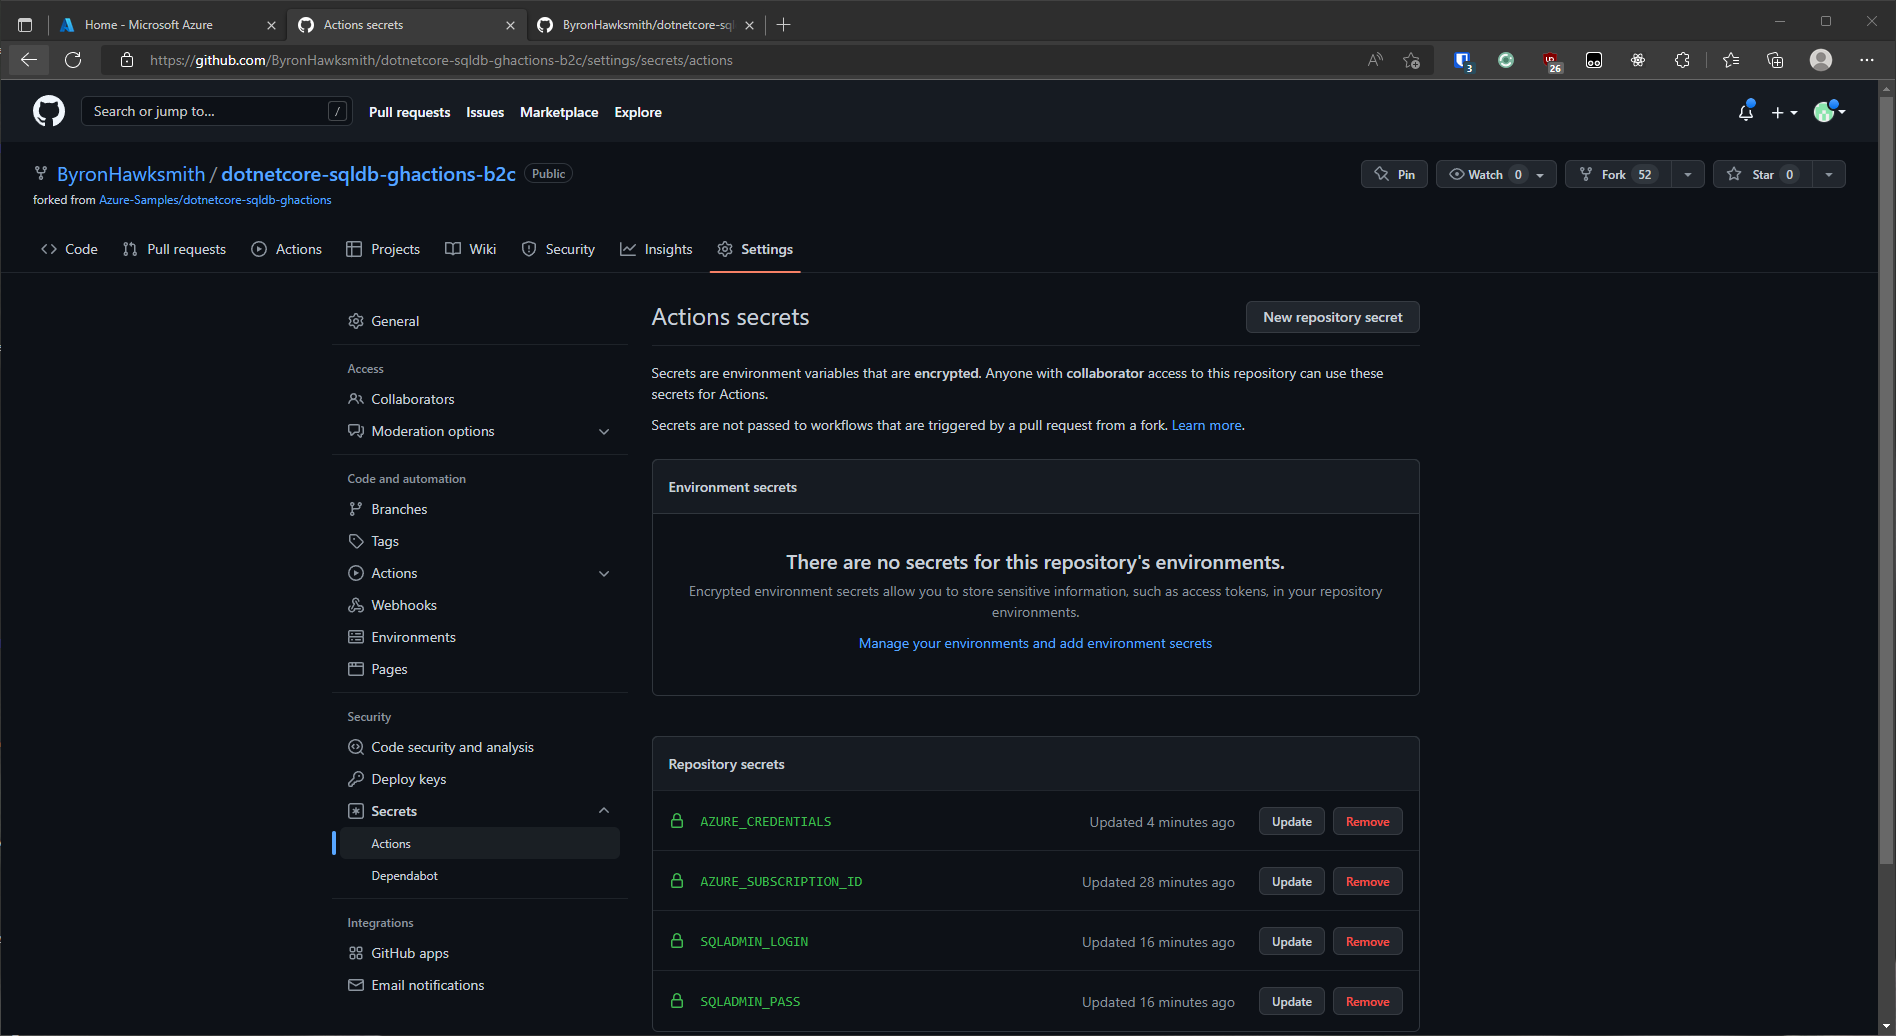
Create two additonal secrets in GitHub called SQLADMIN_LOGIN and SQLADMIN_PASS respectively and give them appropriate values.
You should now have the following secrets set.
Replace lines 1-6 in .github/workflows/infraworkflow.yml with:
name: Create Azure Resources
on:
    workflow_dispatch:
        paths:
        - 'ARM/**'
        - '.github/workflows/infraworkflow.yml'
Make a commit and push it to the remote repository
git add .
git commit -m "Run action on workflow trigger..."
git push
Running the Infrastructure Workflow
Navigate to the infraworkflow.yml action and run it.
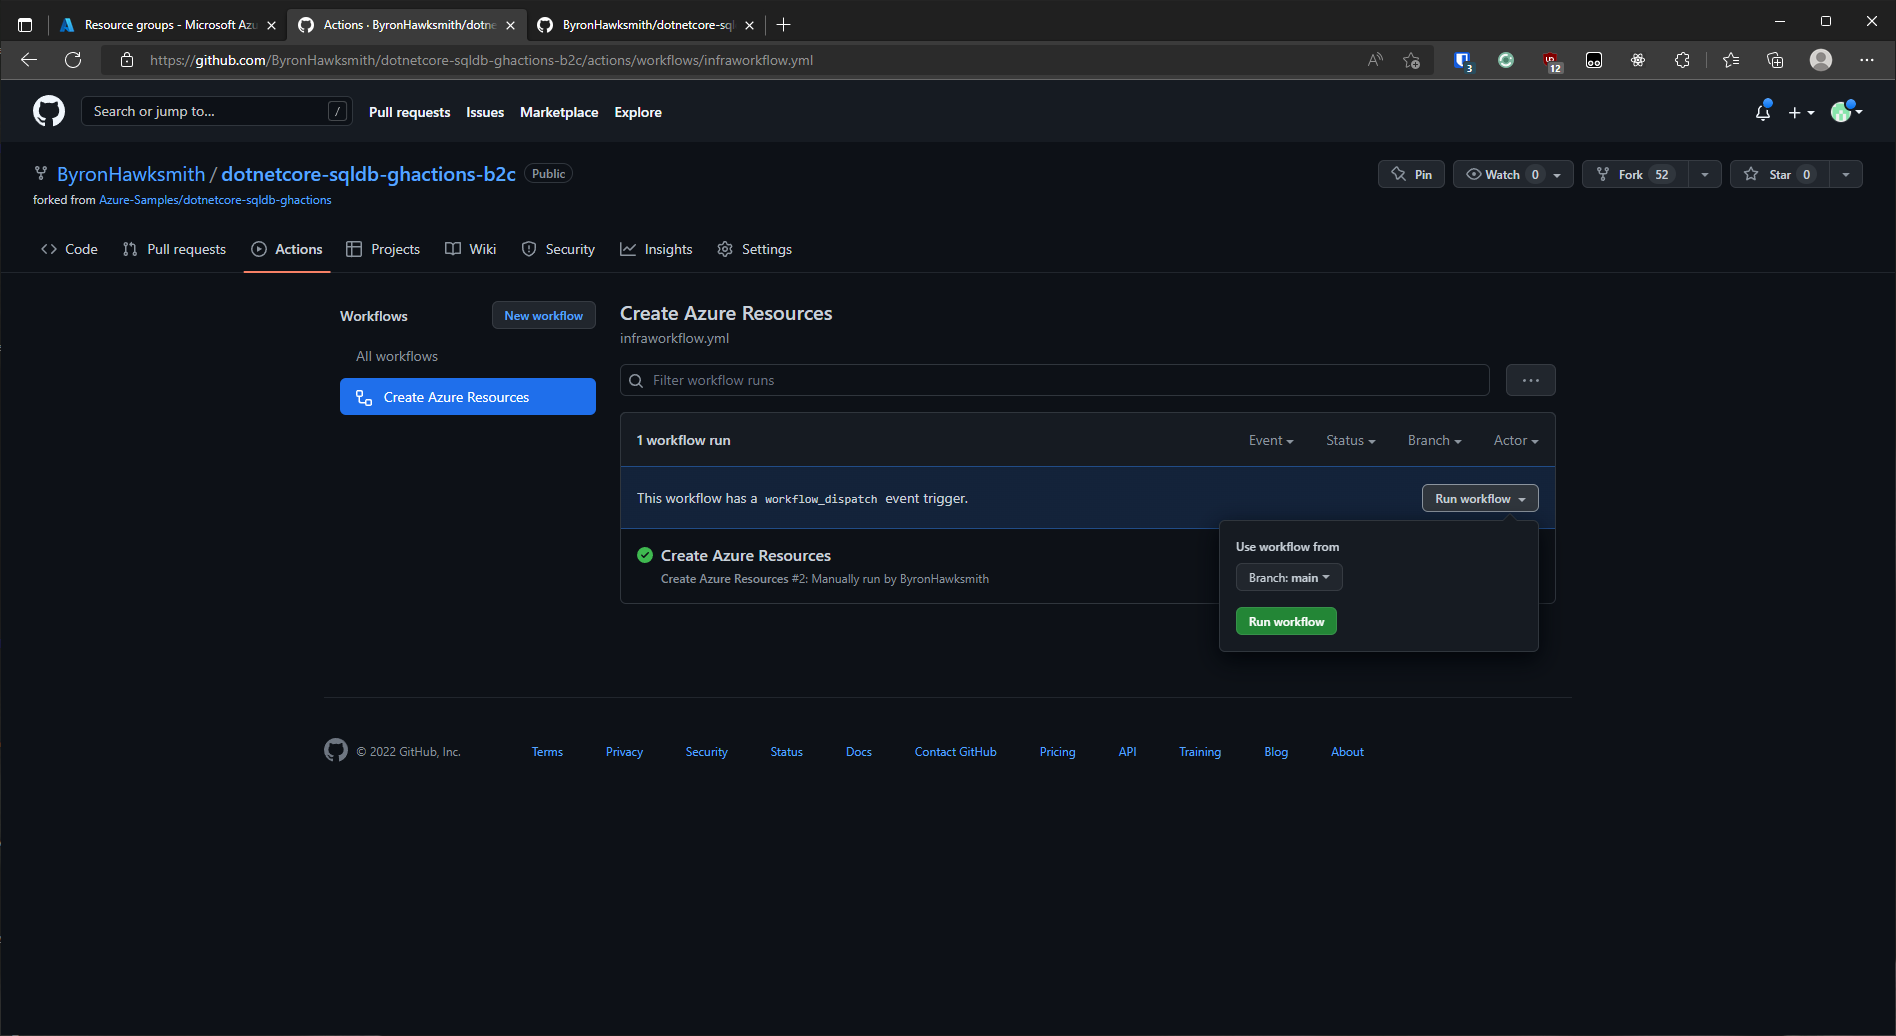
If all is successful, a new resource group will be provisioned in Azure which can be seen in the portal:

Configuring the App Deploy Workflow
Get the publish profile for the staging environment App Service that exists under the newly created Resource Group in the Azure Portal.
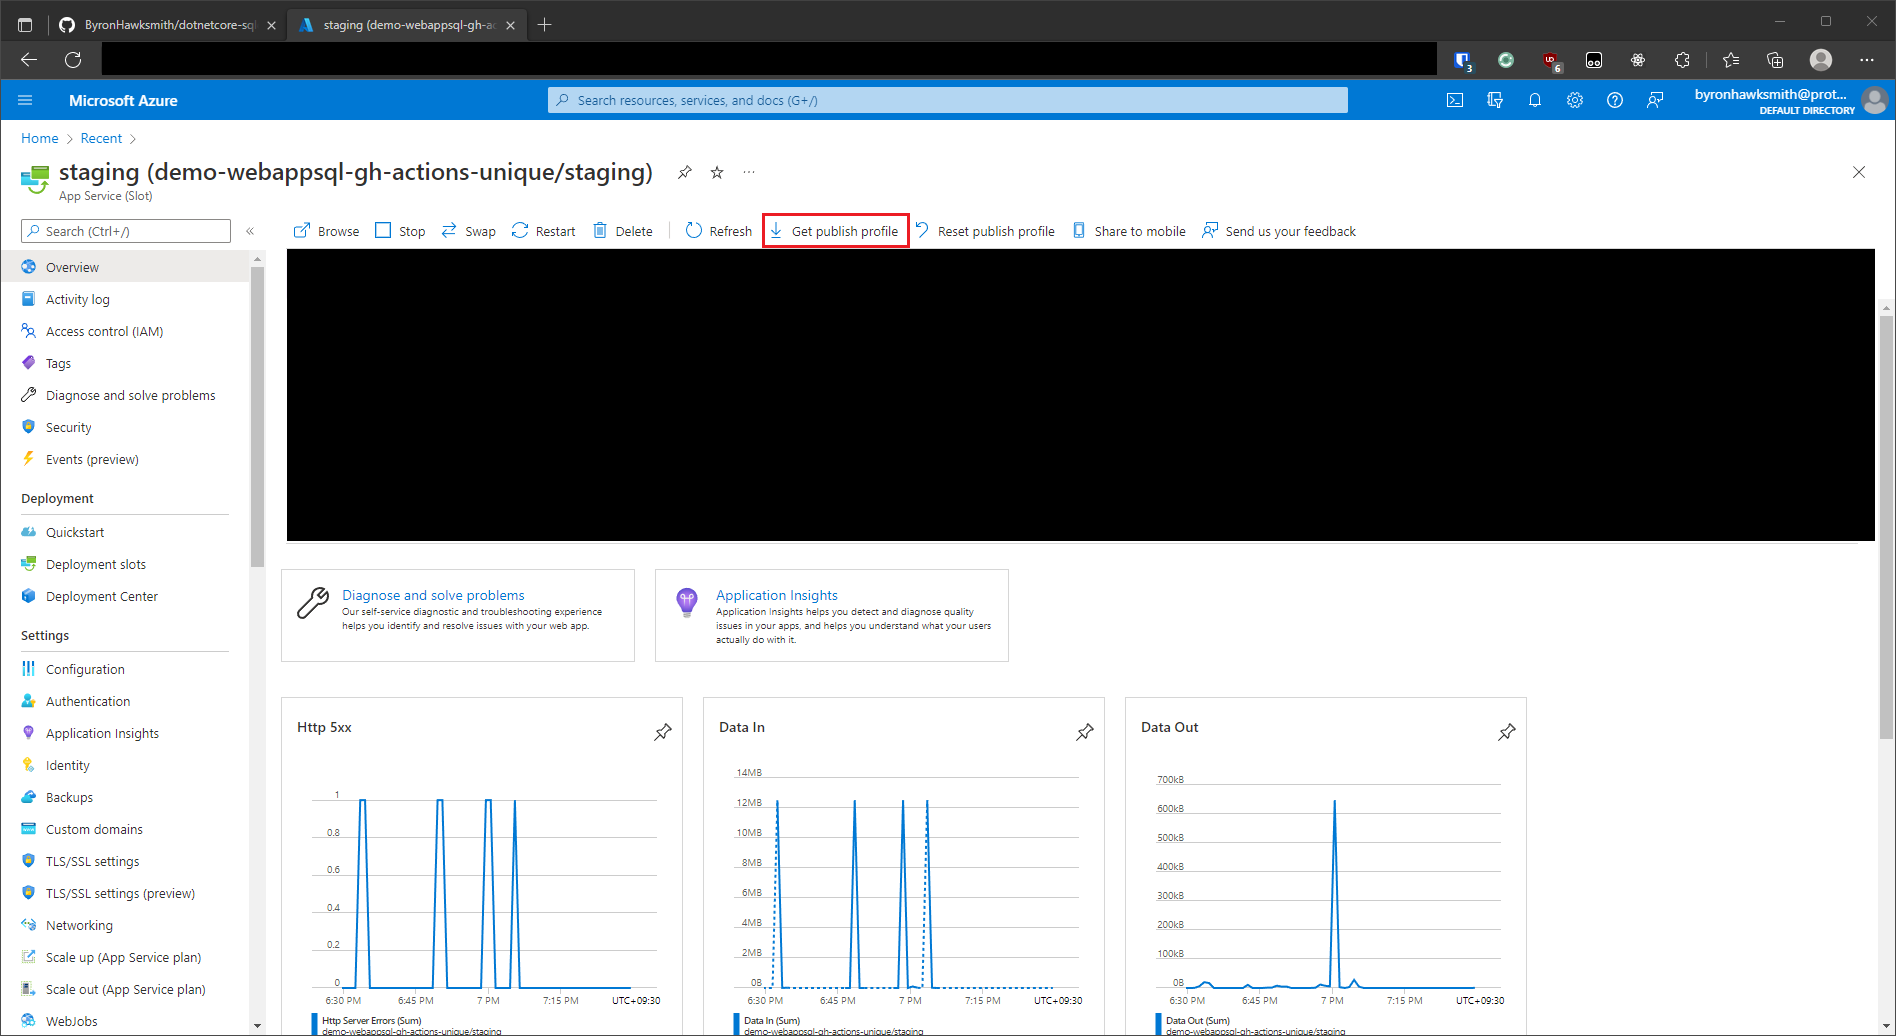
Copy the entire contents of the downloaded file into a new AZURE_WEBAPP_PUBLISH_PROFILE secret.
Replace lines 1-4 in .github/workflows/workflow.yml with:
name: Build and deploy app
on:
    workflow_dispatch
Make a commit and push it to the remote repository
git add .
git commit -m "Run action on workflow trigger..."
git push
Change line 65 in .github/workflows/workflow.yml to dotnet tool install --global dotnet-ef --version 6.0.5
git add .
git commit -m "Downgrade dotnet-ef version to last version that supported .NET Core 3.1"
git push
There is a glaring order of operations bug in this workflow in that the connection string of the database is generated after the app has been deployed to Azure, so we never get a chance to add it to appsettings.json. After much head scratching to realise this bug, the fix is to just correct the order of operations by changing the workflow to be as follows:
name: Build and deploy app
on:
    workflow_dispatch

# CONFIGURATION
# For help, go to https://github.com/Azure/Actions
#
# 1. Set up the following secrets in your repository:
#   AZURE_WEBAPP_PUBLISH_PROFILE
#
# 2. Change these variables for your configuration:
env:
  AZURE_WEBAPP_NAME: demo-webappsql-gh-actions-unique    # set this to your application's name
  AZURE_WEBAPP_PACKAGE_PATH: '.'      # set this to the path to your web app project, defaults to the repository root
  DOTNET_VERSION: '3.1'           # set this to the dot net version to use
  AZURE_RESOURCEGROUP_NAME: demo-webappsql-gh-actions # set this to your preferred resource group name
  SQLSERVER_NAME: demo-webappsql-gh-actions-srv                          # set this to your preferred sql server name
  DATABASE_NAME: demo-webappsql-gh-actions-db                   # set this to your preferred sql database name
  SQLADMIN_LOGIN: ${{ secrets.SQLADMIN_LOGIN  }}                # Create a secret in your Github repo for the SQL Admin login name you want to use
  SQLADMIN_PASS: ${{ secrets.SQLADMIN_PASS  }}                 # Create a secret in your Github repo for the SQL Admin password you want to use

jobs:
  build-and-deploy:
    runs-on: ubuntu-latest
    steps:

      # Checkout the repo
      - uses: actions/checkout@master

      - name: Login for az cli commands
        uses: azure/login@v1
        with:
          creds: ${{ secrets.AZURE_CREDENTIALS }}

      - name: create db connection string
        run: |
          CONN_STR=$(az sql db show-connection-string --client ado.net --server ${{ env.SQLSERVER_NAME }} --name ${{ env.DATABASE_NAME }} -o tsv)
          CONN_STR=$(echo $CONN_STR | sed "s/<username>/${{ env.SQLADMIN_LOGIN }}/g")
          CONN_STR=$(echo $CONN_STR | sed "s/<password>/${{ env.SQLADMIN_PASS }}/g")
          echo "SQL_DB_CONN_STR=$CONN_STR" >> $GITHUB_ENV

      - name: Update Database
        run: |
          dotnet tool install --global dotnet-ef --version 6.0.5
          dotnet ef database update
        env:
          ConnectionStrings__MyDbConnection: ${{ env.SQL_DB_CONN_STR }}

      - name: Edit a .NET Core database connection string in appsettings.json
        uses: microsoft/variable-substitution@v1
        with:
          files: '*.json'
        env:
          ConnectionStrings.MyDbConnection: ${{ env.SQL_DB_CONN_STR }}

      # Setup .NET Core SDK
      - name: Setup .NET Core
        uses: actions/setup-dotnet@v1
        with:
          dotnet-version: ${{ env.DOTNET_VERSION }}

      # Run dotnet build and publish
      - name: dotnet build and publish
        run: |
          dotnet build --configuration Release
          dotnet publish -c Release -o myapp

      # Deploy to Azure Web apps staging slot
      - name: 'Run Azure webapp deploy action using publish profile credentials'
        uses: azure/webapps-deploy@v2
        with:
          app-name: ${{ env.AZURE_WEBAPP_NAME }} # Replace with your app name
          publish-profile: ${{ secrets.AZURE_WEBAPP_PUBLISH_PROFILE  }} # Define secret variable in repository settings as per action documentation
          package: '${{ env.AZURE_WEBAPP_PACKAGE_PATH }}/myapp'
          slot-name: staging

      - name: Swap to production slot
        run: |
          az webapp deployment slot swap --resource-group ${{ env.AZURE_RESOURCEGROUP_NAME }} --name ${{ env.AZURE_WEBAPP_NAME }} --slot staging --target-slot production
          echo "Swap finished. App Service Application URL: https://$(az webapp show --resource-group ${{ env.AZURE_RESOURCEGROUP_NAME }} --name ${{ env.AZURE_WEBAPP_NAME }} --query hostNames[0] -o tsv)"

# For more samples to get started with GitHub Action workflows to deploy to Azure, refer to https://github.com/Azure/actions-workflow-samples
git add .
git commit -m "Reorder workflow steps..."
git push
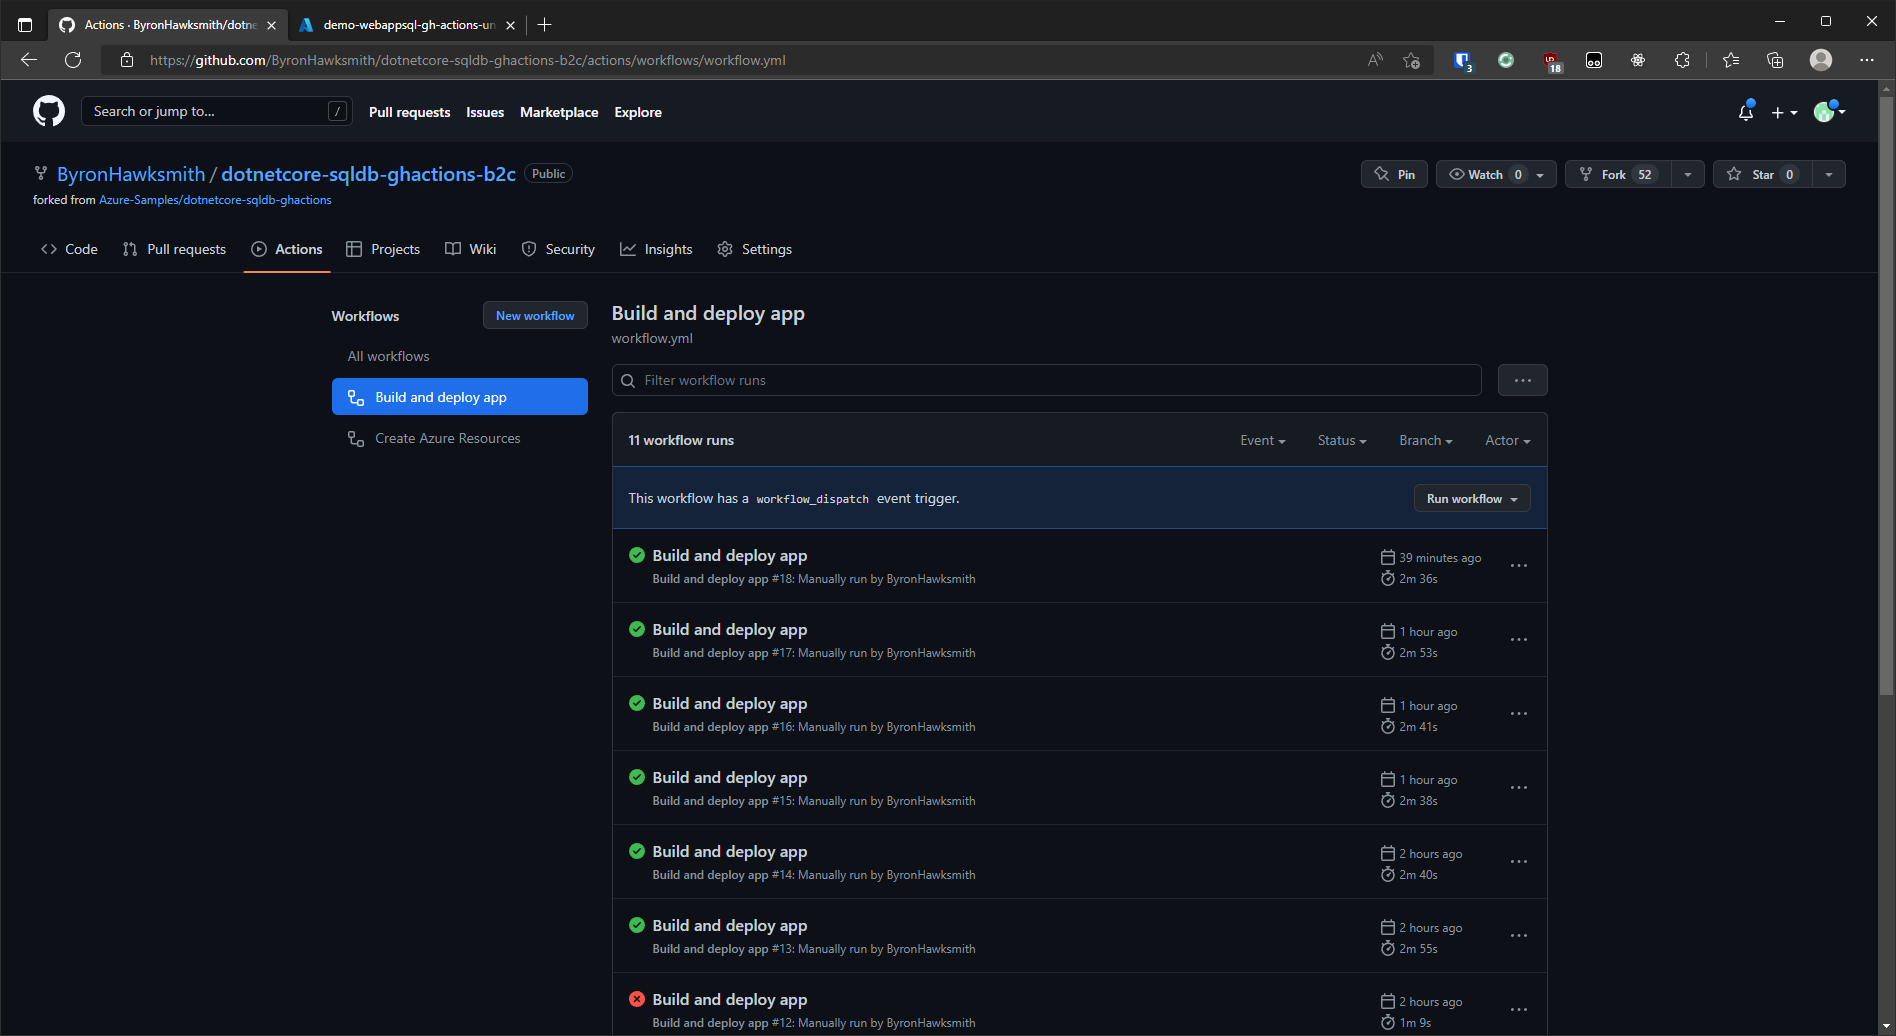
Running the App Deploy Workflow
Navigate to the workflow.yml action and run it.
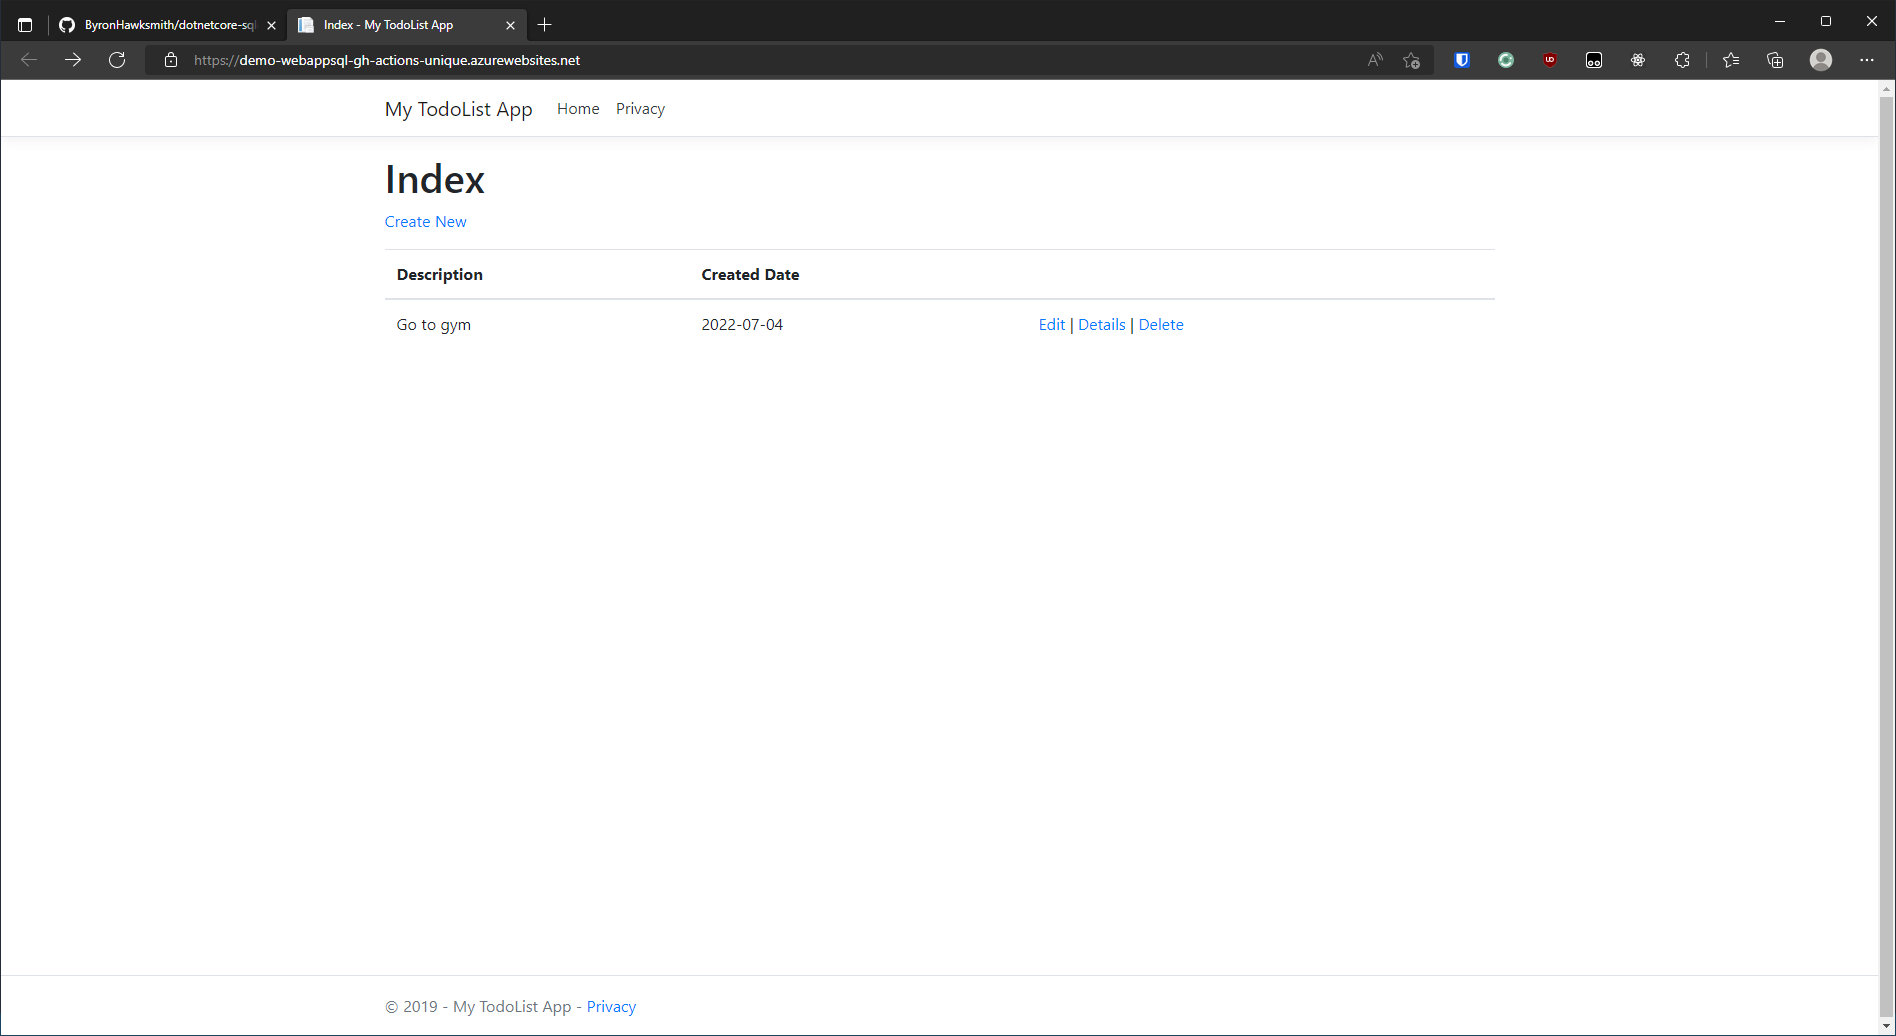
Checkpoint
Navigate to the App Service URL to see the application in action. In the next post I will cover modifying the workflows to include setting up an Azure AD B2C tenant and integrating Azure AD B2C with our web application.